Before tarting read,Dell Laptop Service Precautions.Remove the Battery. You can find How-To instruction here,Dell Studio 1735 (1735/1737) Battery Instructions.
Remove the Media Cover. You can find How-To instruction here,Dell Studio 17 (1735/1737) Media Cover Instructions.
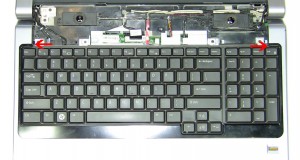
Starting at the top edges of the keyboard bezel, carefully lift it up and unsnap it working your way around the keyboard.

Studio 1735 1737 Keyboard Bezel
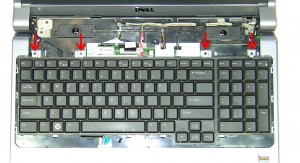
Remove the (4) 2mm x 3mm keyboard screws.

Studio 1735/1737 Keyboard Screws 2mm x 3mm
Lift the keyboard away from the base and flip it over.
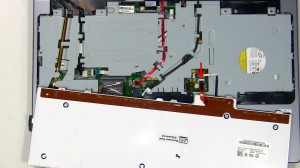
If your keyboard is back-lit, you will need to unplug the back light cable. If not skip this step.**Note- If you would like to upgrade to a back-lit keyboard, all of the motherboards for this model already have the back light cable connection. Simply purchase the correct keyboard with the back light option foundHere.

Studio 1735/1737 Keyboard Back Light Cable
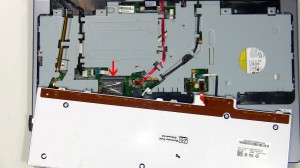
Unplug the keyboard cable.

Studio 1735/1737 Keyboard Cable
Dell Studio 17 (1735/1737) Keyboard Installation
Plug in the keyboard cable and if necessary the keyboard back light cable.
Turn the keyboard over and place it into the palm rest.
Replace the 4 keyboard screws.
Place the keyboard bezel around the keyboard and press down snapping it in along the edges.
Replace the Media Cover. You can find How-To instruction here,Dell Studio 17 (1735/1737) Media Cover Instructions.
Replace the Battery. You can find How-To instruction here,Dell Studio 17 (1735/1737) Battery Instructions.

